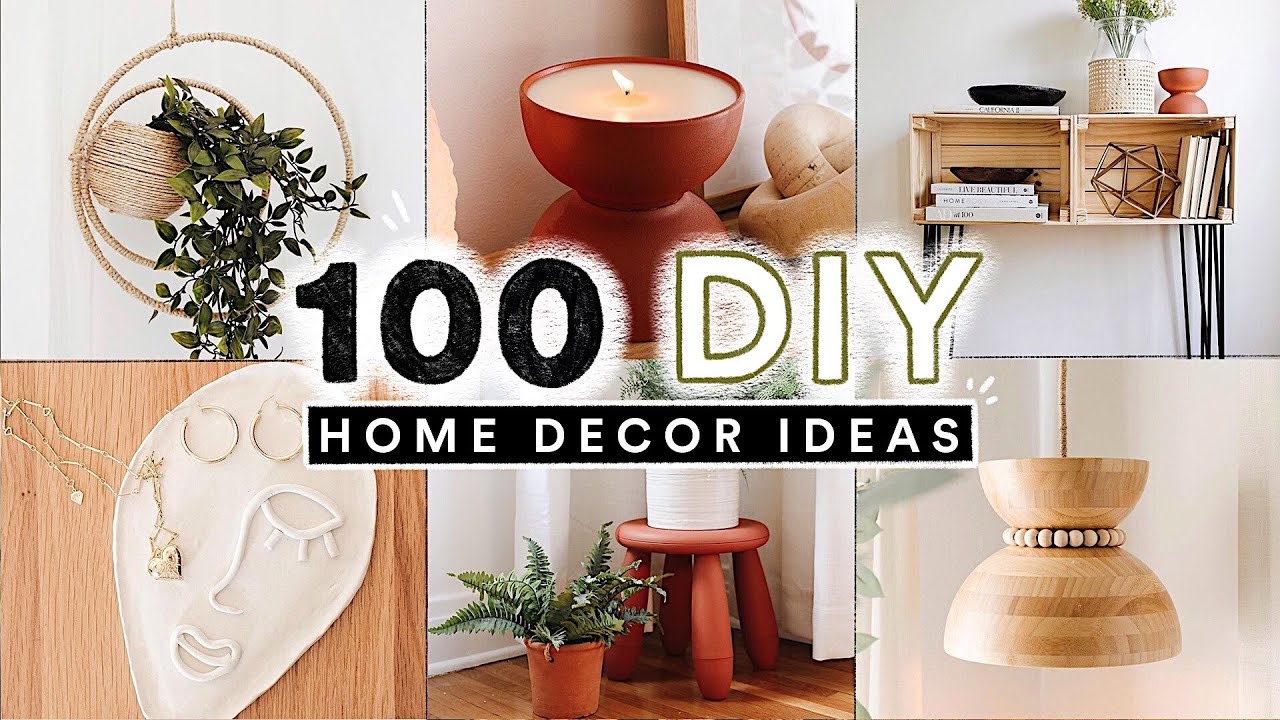
Here are 20 DIY home improvement ideas you can start today: paint a room, install new shelves, update light fixtures, and add a backsplash. Improving your home can be both satisfying and cost-effective.
DIY projects not only enhance your living space but also add value to your property. Tackling small tasks yourself can make a significant impact without requiring professional help. From painting walls to installing shelves, these projects are simple yet transformative.
You can update light fixtures, add a stylish backsplash, or even create a cozy reading nook. These ideas are perfect for beginners and require minimal tools and skills. Start today, and watch your home transform with these easy, budget-friendly improvements.
Revamp Your Entryway
Your home’s entryway is the first thing guests see. It sets the tone for the entire house. Revamping this space can make a big impact. You don’t need to spend a lot of money. Small DIY projects can make a huge difference.
Add A Fresh Coat Of Paint
A fresh coat of paint can transform your entryway. Choose a color that complements your home. Light colors can make the space feel bigger. Dark colors add a touch of elegance. You can also paint the door for a bold statement. Don’t forget to paint the trim for a polished look.
Install New Lighting
Lighting can change the mood of your entryway. Install a new light fixture for an instant upgrade. Choose a fixture that matches your style. Consider a chandelier for a touch of luxury. Wall sconces can add a modern feel. Make sure the lighting is bright enough to welcome guests.
Upgrade Kitchen Cabinets
Upgrading your kitchen cabinets can instantly transform your kitchen’s look. A fresh update doesn’t have to be expensive or complicated. Here are some simple DIY ideas to give your kitchen a new feel today.
Repaint Cabinets
Repainting your kitchen cabinets is a cost-effective way to update them. Choose a color that complements your kitchen’s overall style. Use high-quality paint for a lasting finish.
- Clean the cabinets thoroughly to remove grease and dirt.
- Sand the surfaces for better paint adhesion.
- Apply a primer to ensure a smooth base for the paint.
- Paint the cabinets using a brush or roller. Apply multiple thin coats for the best results.
- Allow ample drying time between coats to avoid smudges.
Replace Hardware
Replacing cabinet hardware can make a big difference. New handles and knobs can modernize your kitchen instantly. Choose hardware that matches your kitchen’s theme.
| Step | Action |
|---|---|
| 1 | Remove the old hardware using a screwdriver. |
| 2 | Measure the distance between holes for new hardware. |
| 3 | Select new handles or knobs that fit the existing holes. |
| 4 | Attach the new hardware using screws provided. |
| 5 | Tighten all screws to ensure the hardware is secure. |
These simple DIY projects can give your kitchen cabinets a fresh look. Start today and enjoy a newly upgraded kitchen in no time.
Create A Feature Wall
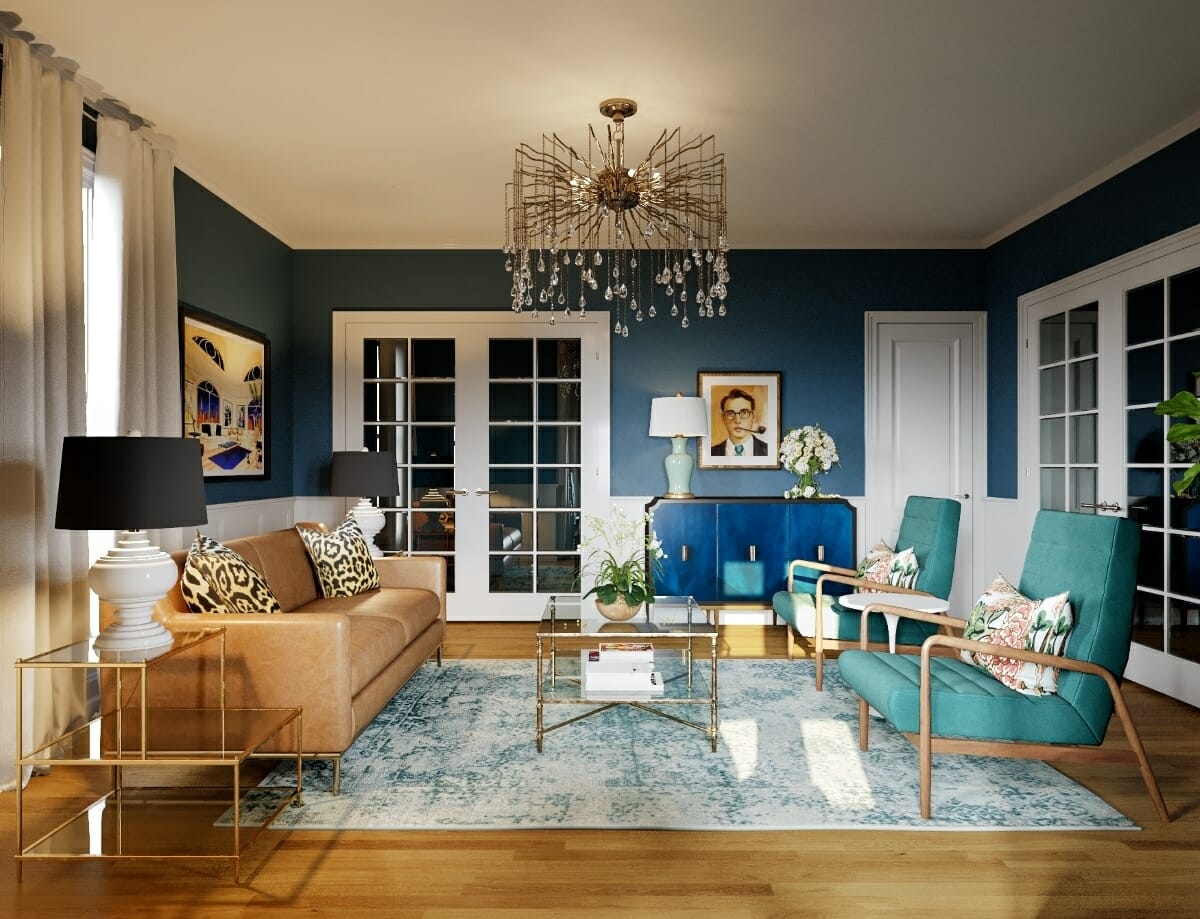
A feature wall can transform any room. It draws attention and adds character. You can start with a blank canvas. Let your creativity flow. Here are some ideas to get you started.
Use Bold Colors
Bold colors can make a room pop. Choose a shade that contrasts with the other walls. This can create a striking effect. Some popular choices include:
- Deep blue
- Vibrant red
- Rich green
- Sunny yellow
Apply the color evenly. Use painter’s tape to get clean edges. This will make the wall stand out.
Apply Wallpaper
Wallpaper can add patterns and texture. It’s a great way to add interest. You can choose from many designs:
- Floral prints
- Geometric patterns
- Textured finishes
- Bold stripes
Measure your wall before buying. This ensures you get enough paper. Apply the wallpaper carefully. Smooth out any bubbles. This will give a professional look.
| Method | Pros | Cons |
|---|---|---|
| Bold Colors | Easy to apply, Cost-effective | Can be overwhelming if overdone |
| Wallpaper | Variety of designs, Adds texture | Can be tricky to apply, More expensive |

Credit: thesimplecozyhaven.com
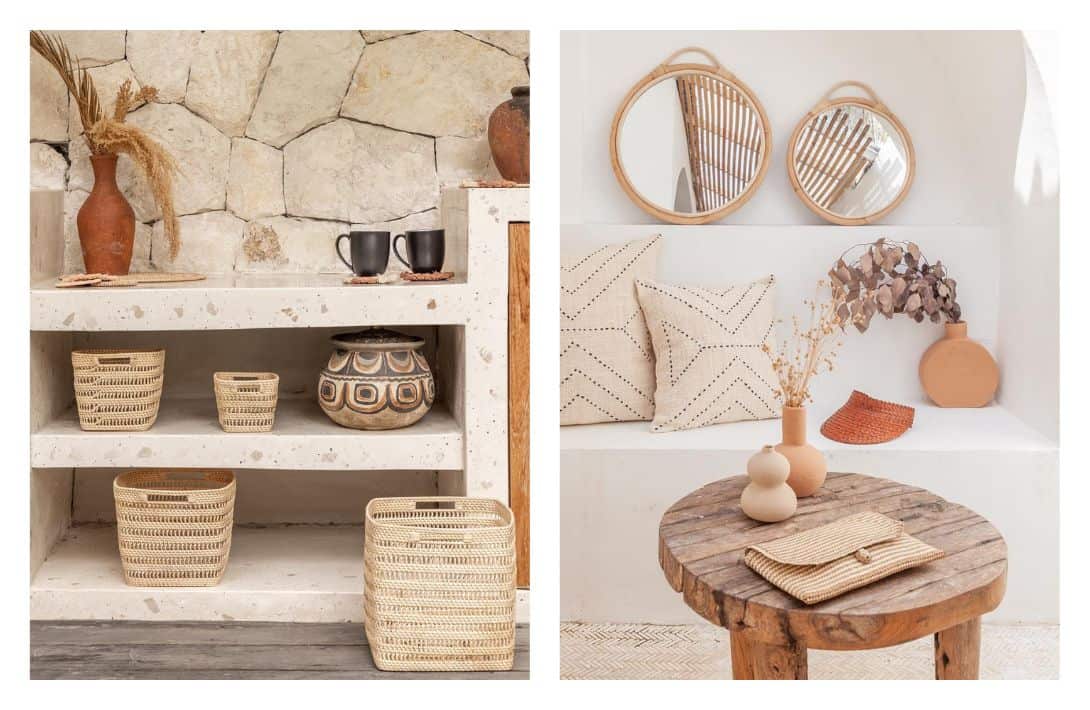
Install Floating Shelves
Floating shelves are a brilliant way to add storage and style to any room. They create a clean, modern look and are easy to install. Follow these steps to make sure your shelves look great and serve their purpose well.
Choose The Right Materials
First, you need to choose the right materials for your floating shelves. Here are some options:
- Wood: Solid wood offers durability and a classic look.
- Metal: Metal shelves are strong and give an industrial feel.
- Glass: Glass shelves look elegant but need careful handling.
Consider the weight your shelves will hold. Choose a sturdy material that fits your needs.
Organize With Style
Once your shelves are up, it’s time to organize them with style:
- Group Similar Items: Place books together, group decor items, etc.
- Use Decorative Boxes: Store small items in pretty boxes for a neat look.
- Add Greenery: Small plants can add life and color to your shelves.
Mix and match items to keep the look balanced. Don’t overcrowd your shelves; give each item space to shine.
| Material | Strength | Look |
|---|---|---|
| Wood | High | Classic |
| Metal | Very High | Industrial |
| Glass | Medium | Elegant |
Floating shelves are a quick and easy DIY project. They can change the look of your home in just a few hours. Get creative and enjoy your new space!
Refresh Your Bathroom
Your bathroom can be a sanctuary. Making small changes can create a big impact. Dive into these easy DIY projects and see the transformation.
Change Out Fixtures
Swapping out old fixtures can make a big difference. Start with the faucet, showerhead, and cabinet handles. Choose modern designs for a sleek look.
- Faucet: Opt for a stylish, water-saving model.
- Showerhead: Consider a high-pressure or rainfall showerhead.
- Cabinet Handles: Pick handles that match your decor theme.
Add A New Shower Curtain
A new shower curtain can refresh your bathroom instantly. Choose a pattern or color that complements your space. Look for waterproof and mildew-resistant materials.
| Material | Benefits |
|---|---|
| Polyester | Durable, easy to clean |
| Vinyl | Waterproof, mold-resistant |
| Cotton | Soft, natural look |
Use shower curtain rings that glide smoothly. This makes it easier to open and close the curtain.
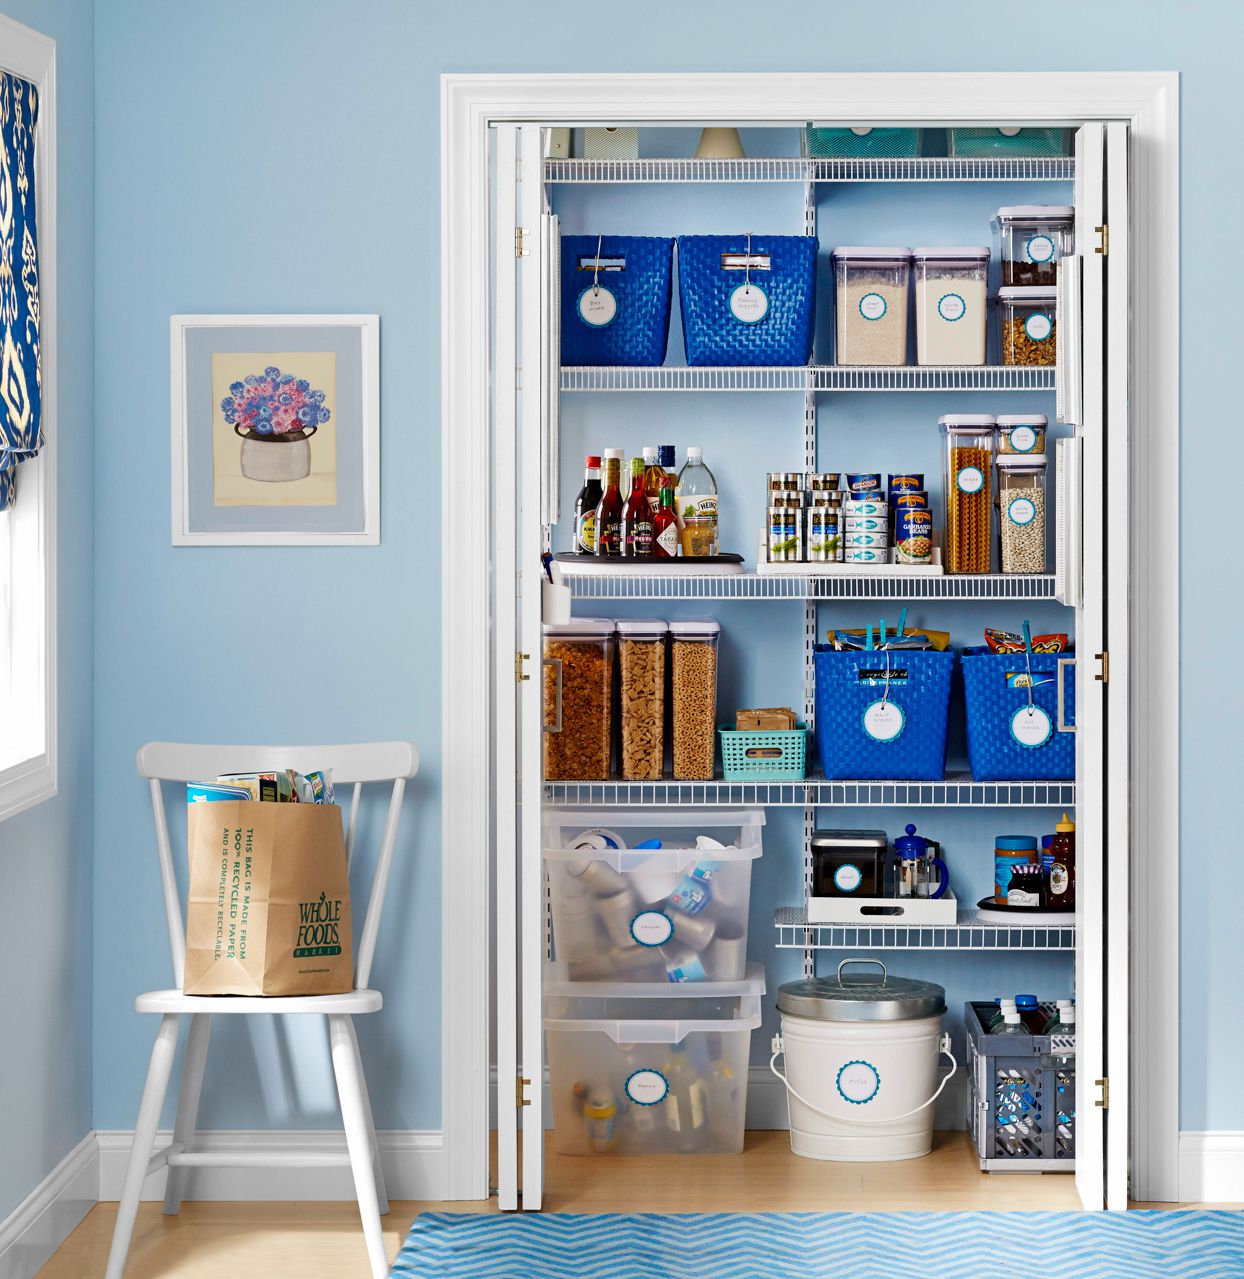
Improve Closet Storage
Improving closet storage can make your home feel more organized. It helps you find things quickly and keeps your space tidy. Try these simple DIY ideas to transform your closet today.
Use Organizers
Organizers can help you maximize your closet space. They come in various shapes and sizes to fit your needs. Consider using:
- Shoe racks for keeping shoes tidy and easy to find.
- Drawer dividers for separating socks, underwear, and accessories.
- Hanging organizers for extra storage without taking up floor space.
Using organizers can make a big difference in how your closet looks and functions.
Install Additional Shelving
Adding more shelves can create additional storage space. You can use them to store folded clothes, shoes, or boxes.
- Measure the space to determine shelf size.
- Choose sturdy materials for lasting shelves.
- Install brackets to support your new shelves.
With extra shelving, you can keep your closet neat and organized.
Build A Diy Headboard
Transform your bedroom with a DIY headboard. It’s a simple project that adds style and comfort. You can customize it to match your room decor.
Select Materials
Choosing the right materials is important. Here are some options:
- Wood: Offers a classic and sturdy look.
- Fabric: Adds a soft and cozy touch.
- Metal: Provides an industrial and modern feel.
Gather the tools you need. This includes a saw, drill, screws, and a measuring tape.
Customize The Design
Make your headboard unique with these ideas:
- Paint: Use bold colors or patterns to stand out.
- Upholster: Add padding and fabric for a soft finish.
- Stain: Give wood a rich, polished look.
Measure your bed to fit the headboard perfectly. Cut the materials to size. Assemble using screws and brackets.
Finally, attach the headboard to your bed frame or wall. Enjoy your new DIY headboard!
Upgrade Lighting Fixtures
Upgrading lighting fixtures is an easy and impactful home improvement project. It can change the atmosphere of any room. New lighting fixtures can make your home look modern and stylish.
Replace Old Fixtures
Old fixtures can make rooms look outdated. Replace old fixtures with modern designs. Choose fixtures that match your home’s style. Use energy-efficient bulbs to save on electricity bills.
- Select a fixture that fits the room’s size.
- Consider the room’s color scheme when choosing fixtures.
- Hire an electrician for safe installation.
Replacing outdated fixtures can brighten up any room. It also adds value to your home.
Add Dimmer Switches
Dimmer switches offer flexibility in lighting. You can adjust the brightness based on activities. They are perfect for living rooms, bedrooms, and dining areas.
- Choose a compatible dimmer switch for your bulbs.
- Turn off the power before installation.
- Follow the manufacturer’s instructions carefully.
| Room | Suggested Dimmer Setting |
|---|---|
| Living Room | Medium to Low |
| Bedroom | Low |
| Dining Area | Medium |
Dimmer switches can extend the life of your bulbs. They also help in creating a cozy atmosphere.
Create A Reading Nook
Creating a cozy reading nook can transform any corner of your home. It offers a peaceful retreat for book lovers. Follow these simple steps to design a perfect reading nook.
Choose A Cozy Corner
Select a quiet corner in your home. Look for a spot with good natural light. Ideally, it should be away from high-traffic areas. This will ensure minimal distractions. A window seat or a corner of your living room can be ideal choices.
Add Comfortable Seating
Comfort is key for a reading nook. Choose a soft, plush chair or a chaise lounge. Make sure it has good back support. Add a few throw pillows for extra comfort. You can also consider a bean bag chair or a hammock chair for a more relaxed vibe.
Accessorize With Essentials
- Place a small side table for your books and a cup of tea.
- Add a cozy blanket for chilly evenings.
- Include a small bookshelf or a stack of books nearby.
Lighting
Proper lighting is essential for a reading nook. Use a floor lamp or a table lamp with a soft, warm glow. Ensure the light is bright enough to read but not too harsh on the eyes.
Personal Touches
Personalize your reading nook with decorative items. Add some artwork, plants, or framed photos. This will make your nook feel inviting and uniquely yours.
Install A Backsplash
Installing a backsplash can transform your kitchen. It adds color and texture. Plus, it’s a fun and easy project. Follow these steps for a professional finish.
Select Tiles
First, choose the perfect tiles. You can pick from various materials:
- Ceramic Tiles: Affordable and durable.
- Glass Tiles: Sleek and modern.
- Stone Tiles: Natural and elegant.
Measure your space to know how many tiles you need. Buy extra tiles for mistakes.
Apply Grout
Next, apply grout to secure the tiles. Follow these steps:
- Mix the grout according to the package.
- Use a grout float to spread it evenly.
- Press the grout into the gaps between tiles.
- Wipe off the excess grout with a damp sponge.
- Let it dry for 24 hours.
Clean the tiles with a soft cloth once the grout dries. Enjoy your new backsplash!
Repaint Interior Doors
Repainting interior doors can transform your home’s look instantly. This simple DIY project requires minimal tools and effort. A fresh coat of paint can make your doors stand out. You can add personality and style to any room with this easy update.
Choose Complementary Colors
Choosing the right colors is crucial for a cohesive look. Consider the existing color scheme in your home. Use colors that complement your walls and furniture. For a bold look, choose contrasting colors. For a subtle change, pick shades that are slightly different from your walls. Here are some tips:
- Neutral tones like beige or gray for a classic look.
- Bright colors such as yellow or red for a pop of color.
- Pastel shades for a soft, calming effect.
Add New Door Handles
New door handles can enhance your freshly painted doors. This small change can make a big impact. Choose handles that match your home’s style. Here are some popular options:
| Handle Style | Best For |
|---|---|
| Brushed Nickel | Modern and sleek homes. |
| Antique Brass | Traditional and vintage looks. |
| Matte Black | Bold and contemporary styles. |
Installing new handles is an easy task. All you need is a screwdriver and a few minutes.
Repainting interior doors and adding new handles can refresh your home. These DIY improvements are quick and affordable, making them perfect for any weekend project.
Landscape Your Yard
Transforming your yard can boost your home’s curb appeal instantly. A well-landscaped yard invites relaxation and enjoyment. You’ll also increase your property’s value. Here are some easy DIY ideas to start today.
Plant Flowers
Flowers add color and beauty to any yard. Choose a variety of blooms. Mix perennials and annuals for year-round beauty. Native plants often need less water and care. Use garden beds, pots, or hanging baskets.
| Flower Type | Best Season | Care Tips |
|---|---|---|
| Roses | Spring/Summer | Full sun, regular watering |
| Tulips | Spring | Well-drained soil, moderate watering |
| Marigolds | Summer | Full sun, drought-tolerant |
Add Outdoor Lighting
Outdoor lighting enhances safety and ambiance. Path lights guide guests and prevent trips. Use solar lights for an eco-friendly option. String lights add a festive touch to trees and patios. Spotlights highlight garden features.
- Path Lights: Illuminate walkways and driveways.
- Solar Lights: Energy-efficient and easy to install.
- String Lights: Perfect for patios and gatherings.
- Spotlights: Showcase beautiful garden areas.
Invest in LED bulbs for longevity and efficiency. Motion-sensor lights offer added security. Consider color-changing lights for a fun twist.
Build A Garden Path
Creating a garden path can transform your outdoor space. It enhances both beauty and functionality. With a few simple steps, you can build a garden path today. Follow these easy DIY instructions to get started!
Choose Path Materials
First, select the materials for your garden path. Common options include:
- Gravel
- Brick
- Stone
- Wood chips
Each material has its own benefits. Gravel is affordable and easy to install. Brick gives a classic look. Stone is durable and natural-looking. Wood chips are eco-friendly and soft underfoot.
Plan The Layout
Next, plan the layout of your garden path. Decide on the path’s shape and direction. Will it be straight or winding? Measure the area where the path will go.
| Step | Action |
|---|---|
| 1 | Draw a rough sketch of the path. |
| 2 | Use stakes and string to outline the path. |
| 3 | Make sure the path is wide enough for walking. |
Consider any existing features in your garden. Work around trees and flower beds. Ensure the path complements the rest of your garden.
Building a garden path is a rewarding project. You will enjoy the results for years to come!
Upgrade Window Treatments
Window treatments can dramatically change the look of a room. They enhance aesthetics and provide privacy and light control. Upgrading window treatments is an easy DIY home improvement idea. You can start this today and see immediate results.
Install Blinds
Blinds are a versatile and stylish option for window treatments. They come in various materials like wood, faux wood, and aluminum. Choose the material that matches your room’s decor.
- Measure the window width and height.
- Purchase blinds that fit your measurements.
- Follow the installation instructions provided by the manufacturer.
- Use a drill to attach the brackets to the wall or window frame.
- Snap the blinds into the brackets and test their functionality.
Blinds provide excellent light control and privacy. They are also easy to clean and maintain. Consider adding blinds to your living room, bedroom, or kitchen windows.
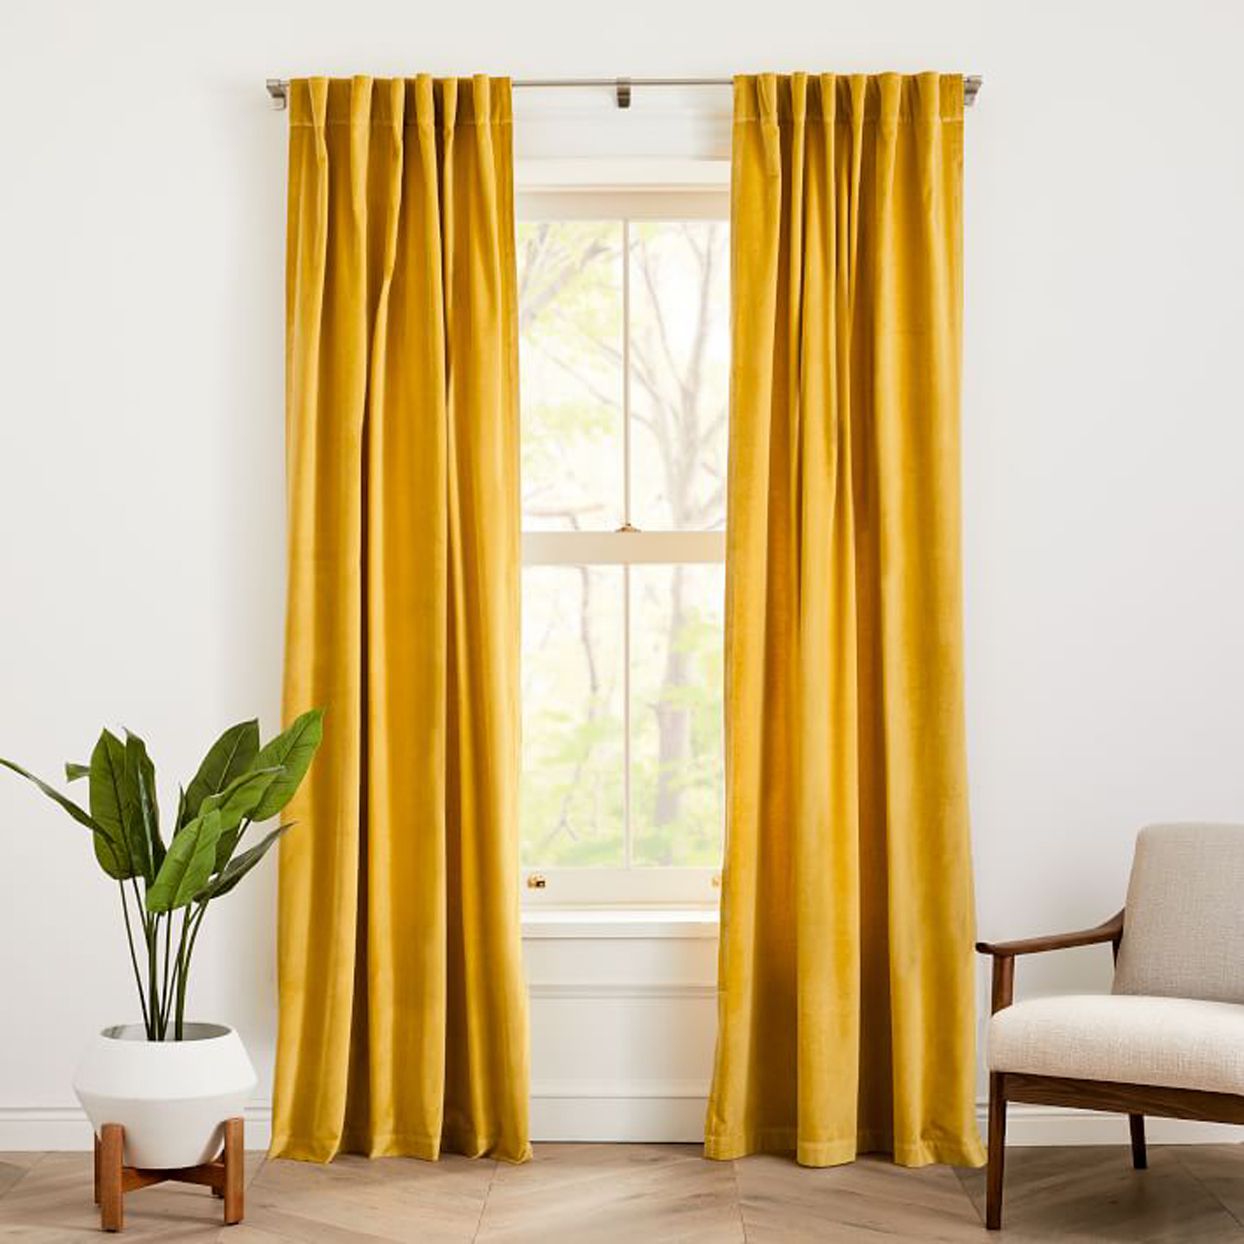
Add Curtains
Curtains add a touch of elegance and softness to any room. They come in various fabrics, colors, and patterns, allowing you to customize your space. Here’s how to add curtains to your windows:
- Measure the window width and length.
- Choose a curtain rod that complements your room’s style.
- Install the curtain rod brackets using a drill.
- Thread the curtains onto the rod.
- Hang the rod on the brackets and adjust the curtains.
Curtains can be layered with blinds for added privacy and light control. They can also be easily swapped out for different seasons or holidays. Opt for thermal curtains to improve energy efficiency and keep your home comfortable year-round.
Create A Home Office
Working from home is now more common than ever. Creating a dedicated home office can boost your productivity. This project is simple and can be done in a day. Let’s explore how to set up your perfect home office.
Choose A Functional Desk
Start with a functional desk. A good desk is essential for your workspace. You can choose a minimalist desk or one with many drawers. Consider the space you have. Measure the area where your desk will go. Make sure the desk fits well in the space.
If you like DIY projects, build your own desk. Use reclaimed wood for a rustic look. Attach metal legs for a modern touch. A custom desk can be a great conversation piece.
Add Storage Solutions
A cluttered desk can slow you down. Add storage solutions to keep your area tidy. Use shelves to store books and files. Floating shelves save floor space. They also look stylish. Place them above your desk for easy reach.
Consider using a filing cabinet. A small, two-drawer cabinet can fit under your desk. This keeps important documents organized. Use baskets and bins for smaller items. Label them to find things quickly.
A pegboard is another great option. Mount it on the wall near your desk. Hang tools, scissors, and other items. This keeps your desk surface clear.
| Storage Solution | Best For | Space Saving |
|---|---|---|
| Floating Shelves | Books, Files | High |
| Filing Cabinet | Documents | Medium |
| Pegboard | Tools, Small Items | High |

Credit: www.youtube.com
Install Crown Molding
One fantastic way to elevate your home’s interior is to install crown molding. This simple DIY project adds elegance and value to any room. It’s easier than you might think, and you’ll love the results. Let’s dive into the steps required to install crown molding.
Measure And Cut
First, measure the perimeter of the room. Use a tape measure to get accurate dimensions. Write these measurements down.
Next, purchase enough crown molding to cover these measurements. It’s better to buy a little extra.
Once you have the molding, it’s time to cut it to size. Use a miter saw for precise cuts. Set the saw to a 45-degree angle.
Place the molding on the saw, ensuring it’s positioned correctly. Cut each piece according to your measurements.
Paint And Install
Before installing, paint the crown molding. Choose a color that matches or complements your walls.
Use a paintbrush or spray paint for a smooth finish. Let the paint dry completely.
Once dry, it’s time to install. Use a level to ensure each piece is straight.
Apply construction adhesive to the back of the molding. Press it firmly against the wall.
Secure the molding with finishing nails. Use a nail gun or hammer for this step. Fill any gaps with caulk, and touch up with paint if needed.
These steps will help you install crown molding with ease. Enjoy your new, elegant room!
Reorganize The Garage
Is your garage a cluttered mess? Reorganizing it can make a huge difference. A well-organized garage can save you time and reduce stress. Here are some simple ideas to get you started today.
Use Shelving Units
Installing shelving units can help you store items neatly. Use shelves to keep boxes, tools, and other items off the floor. This makes your garage look bigger and cleaner. Choose sturdy shelves that can hold heavy items. Metal or wooden shelves work best. You can find these at any home improvement store.
- Label each shelf for easy identification.
- Keep frequently used items at eye level.
- Store seasonal items on higher shelves.
Add Tool Racks
Tool racks keep your tools organized and easy to find. Wall-mounted racks are perfect for this. They free up floor space and keep your tools in sight. You can buy pre-made racks or create your own. A pegboard with hooks works great as a tool rack. Arrange your tools by size and type for quick access.
| Tool Type | Storage Idea |
|---|---|
| Hand Tools | Hang on pegboard |
| Power Tools | Store on shelves |
| Garden Tools | Use wall hooks |
Adding tool racks makes finding your tools easier. It also keeps them in good condition.
Paint An Accent Wall
Painting an accent wall is a simple and impactful DIY home improvement project. It can transform a room’s look and feel instantly. An accent wall adds character and depth to any space. Follow these steps to create an eye-catching focal point in your home.
Select A Bold Color
Choose a color that stands out. Bold colors like deep blue, vibrant red, or rich green work well. Consider the room’s existing color scheme. The accent wall should complement, not clash. Use color swatches to test your choices. Place them on the wall and observe in different light conditions.
Prep The Wall
Preparation is key to a successful paint job. Clean the wall thoroughly to remove dust and grime. Fill any holes or cracks with spackle. Sand the wall smooth once it’s dry. Tape off edges with painter’s tape to ensure clean lines. Lay down drop cloths to protect the floor and furniture.
Gather Your Supplies
Ensure you have all the necessary supplies. You’ll need:
- Paint and primer
- Paint roller and tray
- Paintbrushes
- Painters tape
- Drop cloths
- Sandpaper
- Spackle and putty knife
Start Painting
Begin with a coat of primer if necessary. It helps the paint adhere better. Use a roller for large areas and a brush for edges. Apply the paint in even strokes. Let the first coat dry completely before applying a second coat. This ensures an even, rich finish.
Finishing Touches
Once the paint is dry, remove the painter’s tape carefully. Touch up any areas where the paint may have bled through. Arrange furniture and decor to highlight the new accent wall. Enjoy your refreshed space with its new vibrant look!
Upgrade Bathroom Vanity
Upgrading your bathroom vanity can refresh your entire bathroom. This project is simple and can be done in a day. With a few tools and some creativity, you can transform your vanity space.
Replace The Sink
A new sink can give your bathroom a modern look. Choose a sink that matches your style and fits your vanity. Follow these steps to replace your sink:
- Turn off the water supply.
- Remove the old sink by unscrewing the bolts.
- Install the new sink and secure it with screws.
- Reconnect the water supply.
Add Storage Solutions
Adding more storage can make your bathroom look tidy. Here are some ideas for adding storage:
- Install shelves above the vanity.
- Add baskets under the sink.
- Use drawer organizers for small items.
- Hang hooks for towels and robes.
Build A Diy Fire Pit
Building a DIY fire pit can turn your backyard into an inviting space. It is a great way to enjoy evenings with family and friends. Follow these easy steps to create your own fire pit today.
Choose A Location
First, you need to choose the right location for your fire pit. Ensure the spot is far from any structures, trees, or fences. A clear area reduces fire hazards and keeps everyone safe.
| Step | Description |
|---|---|
| 1 | Find a flat surface in your yard. |
| 2 | Ensure it is at least 10 feet from any structures. |
| 3 | Check local regulations for fire pits. |
Select Fire-resistant Materials
Next, gather fire-resistant materials for your fire pit. These materials ensure your fire pit is safe and durable. Choose stones, bricks, or concrete blocks.
- Stones: Natural look, durable
- Bricks: Classic appearance, easy to stack
- Concrete blocks: Modern look, very strong
Arrange your materials in a circular or square shape. Stack them securely to form the walls of your fire pit. Leave small gaps between the materials for air flow. This helps the fire burn more efficiently.
- Lay the first layer of stones or bricks.
- Add a second layer, staggering the joints.
- Continue until your fire pit is 12 inches high.
Now your DIY fire pit is ready. Enjoy cozy evenings by the fire with your loved ones.
Credit: christinamariablog.com
Frequently Asked Questions
What Are Simple Diy Home Improvements?
Simple DIY projects include painting walls, updating light fixtures, and adding shelves.
How To Start A Diy Home Project?
Begin by gathering materials, planning steps, and following tutorials.
What Tools Are Needed For Diy Home Projects?
Basic tools include a hammer, screwdriver, tape measure, and level.
Can Diy Home Improvements Save Money?
Yes, doing it yourself can reduce labor costs significantly.
What Are Easy Weekend Diy Projects?
Painting a room, installing shelves, and updating cabinet hardware are great weekend projects.
How To Choose Paint Colors For Home?
Consider room size, lighting, and existing decor when selecting paint colors.
Are Diy Projects Safe For Beginners?
Yes, many projects are beginner-friendly with proper safety precautions.
How To Update Kitchen On A Budget?
Paint cabinets, replace hardware, and add a backsplash for a budget-friendly update.
What Are The Benefits Of Diy Home Improvements?
Benefits include cost savings, personal satisfaction, and customized results.
How To Improve Home Curb Appeal?
Add plants, paint the front door, and update exterior lighting to enhance curb appeal.
Conclusion
Embarking on DIY home improvement projects can be both rewarding and fun. These 20 ideas can transform your living space. Start small, and enjoy the process of making your home uniquely yours. With creativity and effort, even the simplest changes can make a big impact.
Happy renovating!


